Difference between revisions of "Customdungeons"
Jump to navigation
Jump to search
| Line 30: | Line 30: | ||
{| class="wikitable" style="text-align:center;" |
{| class="wikitable" style="text-align:center;" |
||
|- |
|- |
||
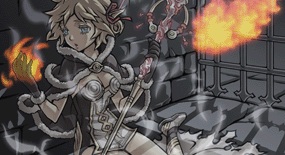
| − | |[[File:Dungeon_-_DM.jpg|link=]]<br>[[Dark Monastery]] || [[File:Dungeon_- |
+ | |[[File:Dungeon_-_DM.jpg|link=]]<br>[[Dark Monastery]] || [[File:Dungeon_-_IL_Abbyss.jpg|link=]]<br>[[Illusions of Abyss]] || [[File:Dungeon_-_IL_Frozen.jpg|link=]]<br>[[Illusions of Frozen]] || [[File:Dungeon_-_IL_Labyrinth.jpg|link=]]<br>[[Illusions of Labyrinth]] || [[File:Dungeon_-_IL_Luanda.jpg|link=]]<br>[[Illusions of Luanda]] |
|- |
|- |
||
| − | |[[File:Dungeon_- |
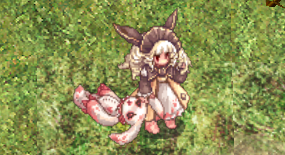
+ | |[[File:Dungeon_-_IL_Moonlight.jpg|link=]]<br>[[Illusions of Moonlight]] || [[File:Dungeon_-_IL_Teddy_Bear.jpg|link=]]<br>[[Illusions of Teddy Bear]] || [[File:Dungeon_-_IL_Twin.jpg|link=]]<br>[[Illusions of Twin]] || [[File:Dungeon_-_IL_Underwater.jpg|link=]]<br>[[Illusions of Underwater]] || [[File:Dungeon_-_IL_Vampire.jpg|link=]]<br>[[Illusions of Vampire]] |
|- |
|- |
||
| − | |[[File:Dungeon_- |
+ | |[[File:Dungeon_-_Nifflheim_Floor_2.jpg|link=]]<br>[[Nifflheim Floor 2]] || [[File:Dungeon_-_Rudus4.jpg|link=]]<br>[[Rudus F4]] || [[File:Dungeon_-_Bio5.jpg|link=]]<br>[[Tomb of the Fallen]] |
|} |
|} |
||
Revision as of 19:59, 5 January 2026
Level 100+
 Okolnir |
 Rock Ridge Culvert |
Level 125+
 Rudus F1 |
 Underground Prison of Prontera |
 Varmundt's |
Level 150+
 Invaded Prontera |
 LevelingDungeon |
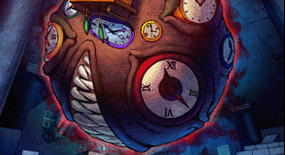 Nightmare Clock Tower F3 |
 Rock Ridge Mine |
 Rudus F2 |
 Somatology Laboratory F3 |
 Somatology Laboratory F4 |
 Varmundt's Lost Farm Valley |
Level 175+
 Abyss Glassheim Castle F1 |
 Abyss Lake 4 |
 Einbroch 3 |
 Magma Dungeon 3 |
 Odin Past |
 Rudus F3 |
 Varmundt's 2nd Power Plant |
 Varmundt's Tartaros Storage |
Level 200+


Level 225+
 Abandoned Lab Amicitia |